

A tempered film screen protector is one of the simplest ways to keep your device’s screen safe from scratches, smudges, and everyday wear. The best part? You don’t need a technician to install one, you can do it yourself in just a few minutes.
Beg it’s your first time or you’ve had some bubble mishaps in the past, this step by step guide will help you get it right the first time.
Step 1: Find the Right Spot
Before you open the packaging, pick a clean, well-lit space to work in. The fewer dust particles floating around, the better. A table away from open windows or fans is ideal because No one likes a rogue speck of dust ruining an otherwise perfect install.
Step 2: Give Your Screen a Deep Clean
This is the most important step. If your screen isn’t spotless, you’ll end up with bubbles or bumps under the protector. Follow the below to keep your screen clean;
-
Use the alcohol wipe from your kit to remove fingerprints, smudges, and oils.
-
Follow up with the microfiber cloth to polish the screen until it’s crystal clear.
-
Finally, use the dust removal sticker (or a small piece of tape) to lift any stray particles.
Take your time here, we promise it’s worth the extra minute.
Step 3: Get the Protector in Position
Hold the tempered film by the edges to avoid touching the sticky underside. Align it carefully with key parts of your screen. On a smartwatch, that’s the bezel and any buttons or sensors.
Tip: Hover it just above the surface while you check your alignment. Once it’s down, adjustments are much harder to make.
Step 4: Apply the Protector
When you’re happy with the alignment, gently lower the protector onto the screen. Some people like starting from the top and working down whereas others prefer pressing from the centre outwards. Both techniques work, just move slowly so you don’t trap air or dust.
If you notice it’s slightly off, lift it gently from a corner and realign before the adhesive fully bonds.
Step 5: Smooth Out Any Bubbles
Small bubbles can happen but don’t panic. Use the microfiber cloth or a credit card wrapped in the cloth to push them towards the edges. Work from the centre outward, applying light, even pressure.
Most tiny bubbles will disappear on their own after a day or two, especially with tempered film.
Step 6: Peel Off the Top Film
If your protector has a thin protective film on top, peel it off once everything underneath is bubble-free. Give the screen one last wipe to remove fingerprints from handling, and you’re done.
Extra Tips for Ensuring the Perfect Installation
Work in a dust-free environment – This makes the biggest difference for avoiding bubbles.
Use guide stickers or frames if included – These help you get the protector lined up perfectly on the first try.
Avoid touching the adhesive side – Even a fingerprint can affect the stickiness.
Be patient – Take your time to ensure you get it right the first time. Rushing will only increase the likelihood of you having to start again.
Why Choose a Tempered Film Protector?
Tempered film protectors have a few key advantages over standard plastic films:
Better scratch and impact resistance – They take the hit so your actual screen doesn’t.
Smoother feel – Touchscreen responsiveness stays sharp with no interference.
Clearer display – No hazy look that some plastic protectors create.
Fingerprint resistance – Enjoy the oil repelling coating that prevents fingerprints on the surface.
They’re also easy to replace when needed as opposed to repairing a damaged screen.
Keeping Your Watch Looking Its Best
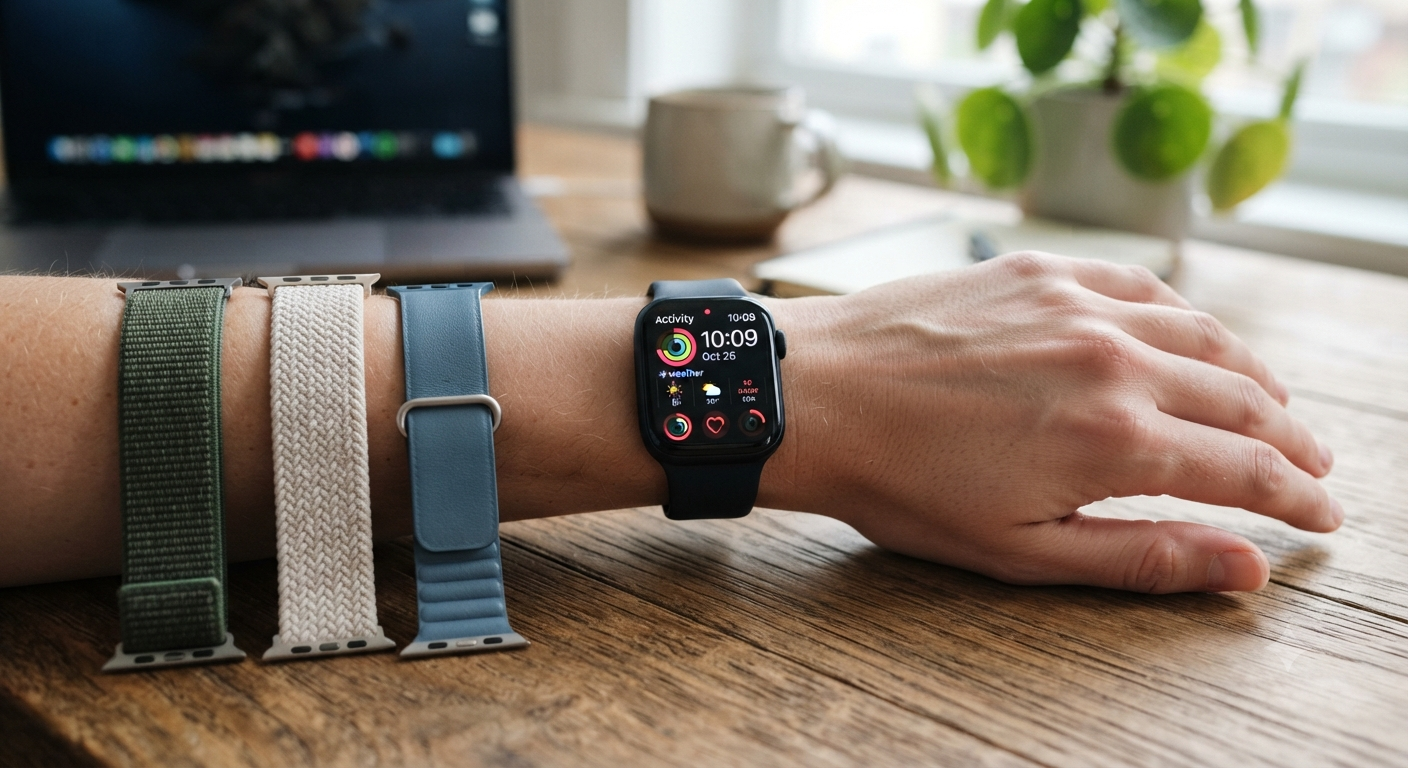
Installing a screen protector is just one part of keeping your smartwatch in top shape. Pairing it with the right band can make it look and feel even better.
AtOzStraps, you can find:
-
Apple Watch Bands – Classic styles, stainless steel, leather, and more.
-
Watch Bands Online – Our complete range for all watch types.
-
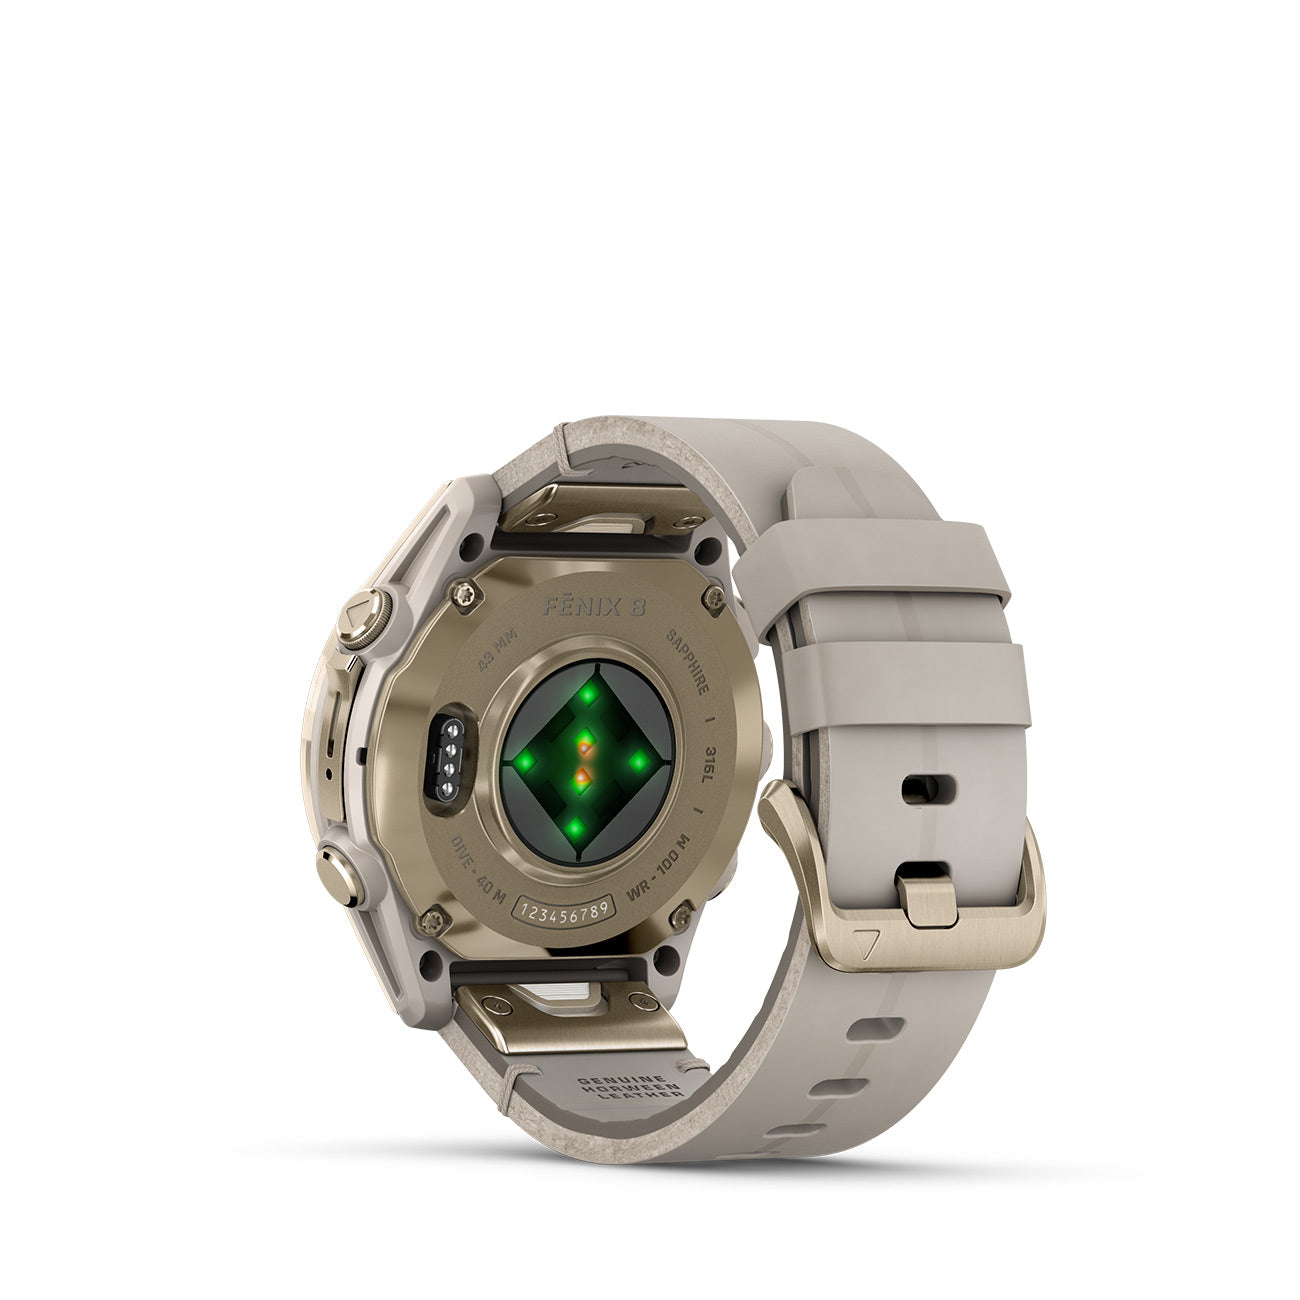
Garmin Watch Bands – Built for durability and outdoor performance.
-
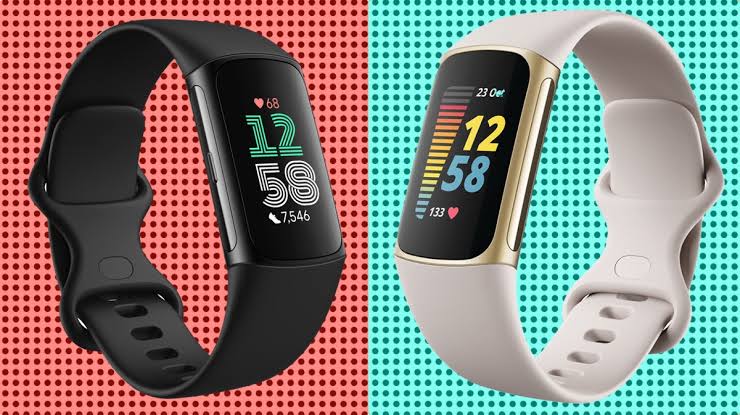
Fitbit Watch Bands – Comfortable and functional for fitness lovers.
By pairing a quality band with your newly protected screen, you’re covering both style and durability in one go.
Installing a tempered film screen protector doesn’t have to be frustrating. With the right prep, a careful hand, and a few minutes of your time, you can get a bubble-free finish that keeps your device looking brand new.
And once your screen is safe, why not upgrade your band too? Whether you’re using an Apple Watch, Garmin, or Fitbit, OzStraps has you covered with stylish, high-quality options to match your watch and your lifestyle.


Leave a comment (all fields required)